AARCH32 工作模式使用
- 当开发者需要基于 Phytium 系列芯片进行开发时,可以从以下几个步骤出发配置芯片
1. 准备编译环境
- 在aarch32目录下创建tools文件夹,用于存放编译链
mkdir tools
Ubuntu 环境
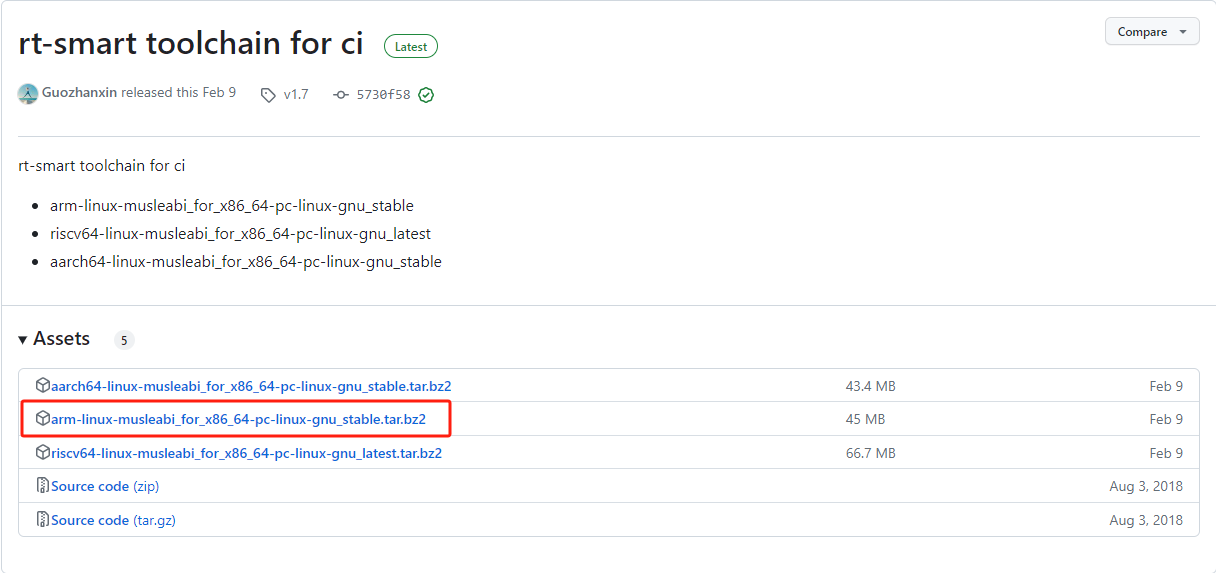
- 点击下载编译链工具压缩包,放置在tools目录下,如下所示
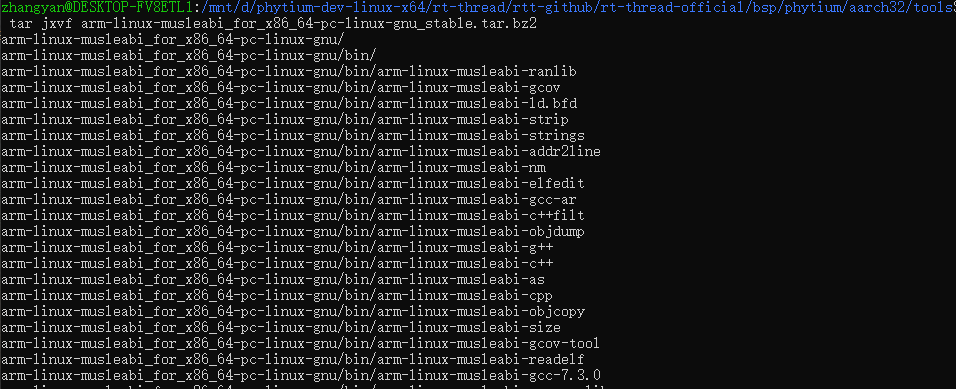
- 在tools目录下,使用tar命令解压缩
tar jxvf arm-linux-musleabi_for_x86_64-pc-linux-gnu_stable.tar.bz2
- 返回
aarch32目录,运行smart-env.sh脚本,生效环境变量
source ./smart-env.sh
- 如下所示是
aarch32编译相关的环境变量,运行scons前要确保环境变量设置正确
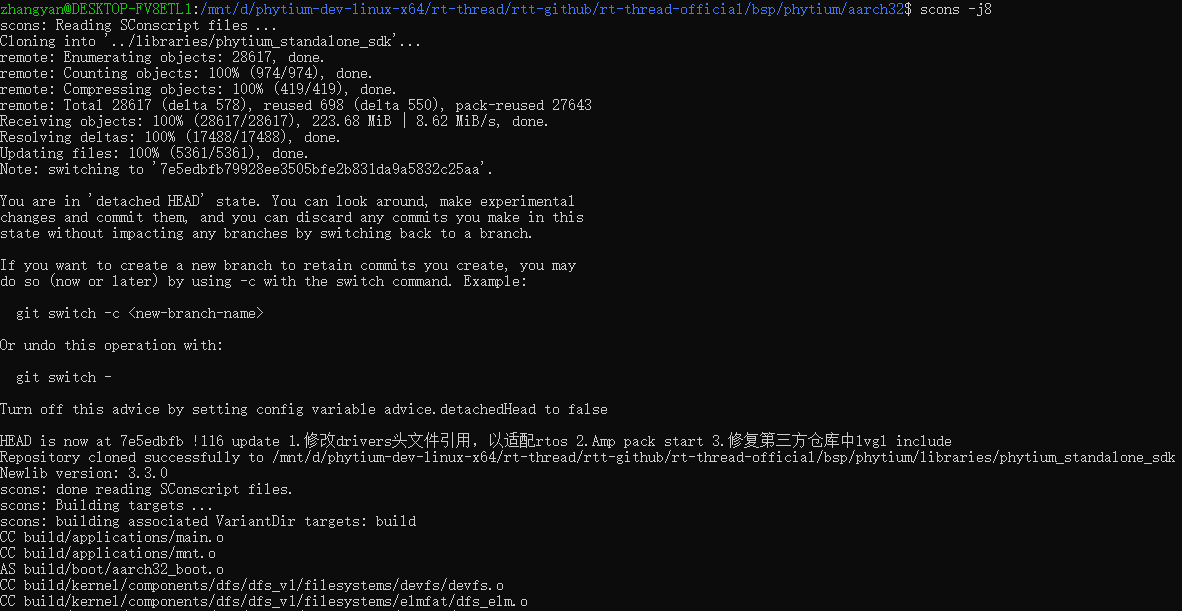
- 输入以下指令进行编译,初次编译会拉取
phytium_standalone_sdk工具包,请确保当前环境下网络畅通
scons -j8
- 完成编译之后aarch32目录下将会生成以下几个文件
rtthread_a32.bin
rtthread_a32.elf
rtthread_a32.map
RT-Thread env 环境
-
点击下载编译链工具压缩包,提取码:ndxq
-
在tools目录下,将下载好的编译链工具压缩包解压缩,如下所示
- 返回
aarch32目录,运行smart-env.bat脚本,生效环境变量
.\smart-env.bat
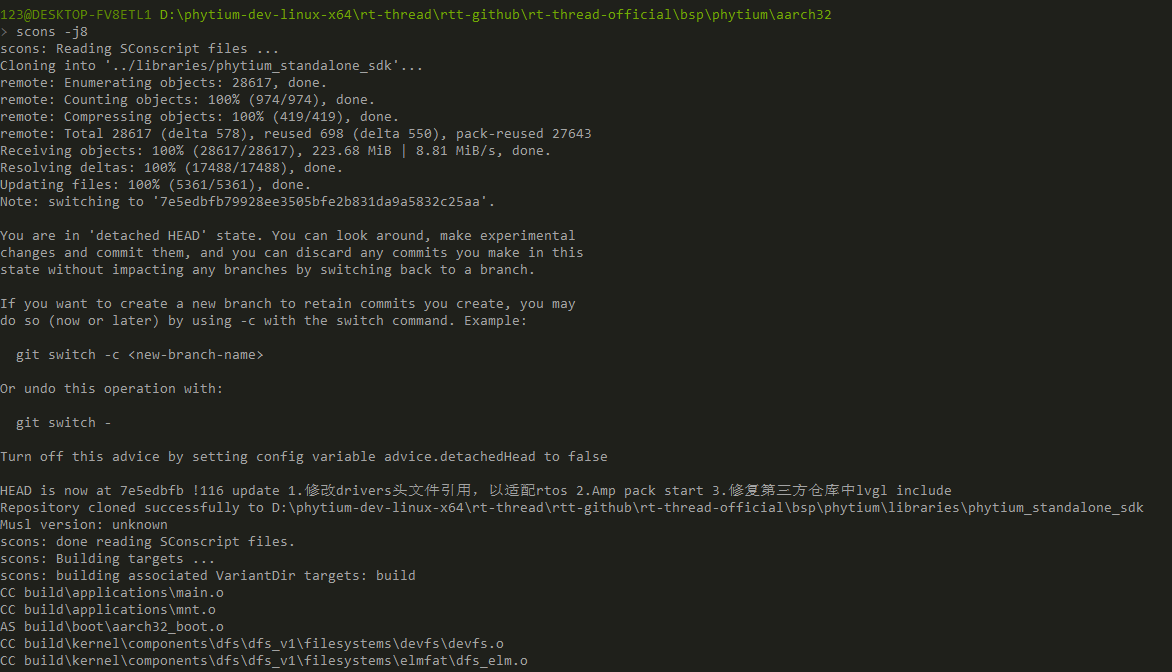
- 输入以下指令进行编译,初次编译会拉取
phytium_standalone_sdk工具包,请确保当前环境下网络畅通
scons -j8
- 完成编译之后aarch32目录下将会生成以下几个文件
rtthread_a32.bin
rtthread_a32.elf
rtthread_a32.map
2. 如何选择开发板
注:在 RT-Thread env 环境下使用
menuconfig指令即可打开配置菜单,在Ubuntu下需要使用scons --menuconfig
- 以 E2000Q RT-Thread为例,Linux 环境下,运行
make load_e2000d_demo_rtthread加载默认的 rtconfig, 然后输入下列命令,进入 menuconfig 进一步配置
scons --menuconfig
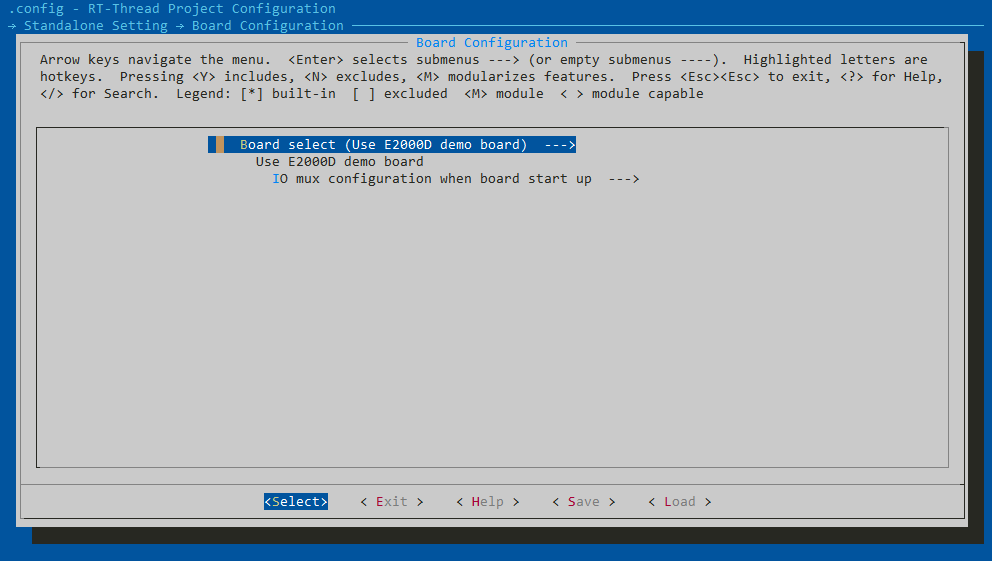
开发者通过以下选择进行配置
Standalone Setting > Board Configuration > Chip
3. 如何选择驱动
scons --menuconfig
开发者通过以下选项进行驱动的使能
Hardware Drivers > On-chip Peripheral Drivers
4. 开启SDK中内部调试信息
scons --menuconfig
开发者通过以下选项开启调试信息
5. 如何切换至 RT-Thread Smart 工作模式
Ubuntu环境下可使用以下指令加载RT-Smart默认配置
- 以E2000D_DEMO开发板为例
make load_e2000d_demo_rtsmart
RT-Thread env环境不方便安装make工具,可按照以下步骤加载RT-Smart默认配置
- 查看
makefile文件,找到make load_e2000d_demo_rtsmart
- 输入以下指令
cp ./configs/e2000d_demo_rtsmart ./.config -f
cp ./configs/e2000d_demo_rtsmart.h ./rtconfig.h -f
scons -c
6. 启动镜像程序
- 完成配置后,使用以下指令进行clean和重新编译
scons -c
scons -j8
- 按照指导启动镜像程序
