# GD32VF103 # ## 简介 gd32vf103v-eval 是由兆易创新公司推出的基于开源指令集 RISC-V 架构的开发板。 ### 板载资源: | 硬件 | 描述 | | -- | -- | | 内核 | Bumblebee | | 架构 | 32-bit RV32IMAC | | 主频 | 108 MHz | ## 编译说明 ### 导入工程 打开 Eclipse 选择工作空间 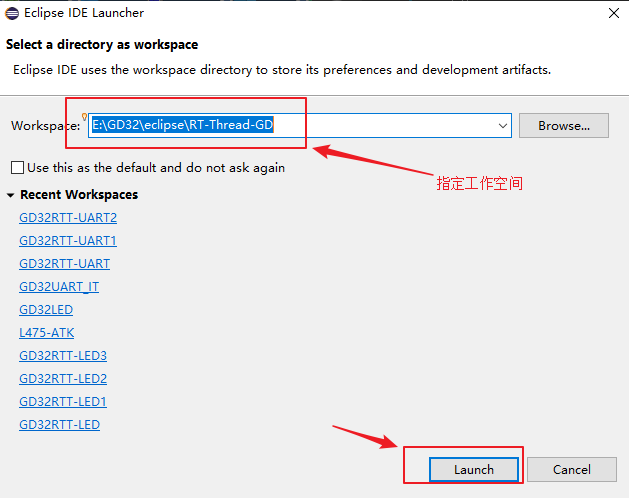 打开 Eclipse 后需要导入 RT-Thread 工程  选择以存在的工程,并指定工程路径  指定工程路径  ### 添加环境变量 设置 Build Tools Path 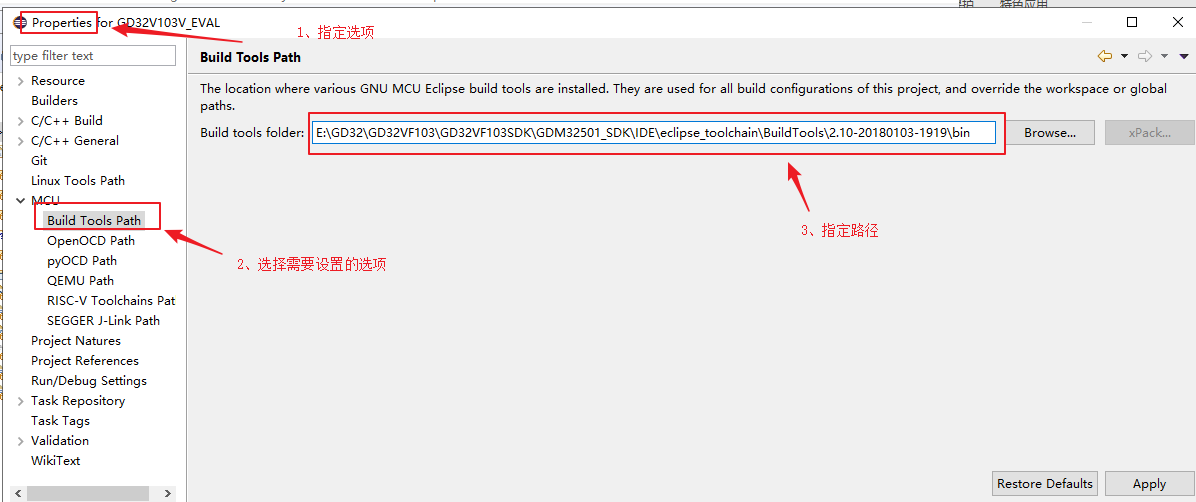 点击 MCU 列表中的 Build Tools Path 选项,为其选择 SDK 文件包中提供的对应工具 设置 OpenOCD Path 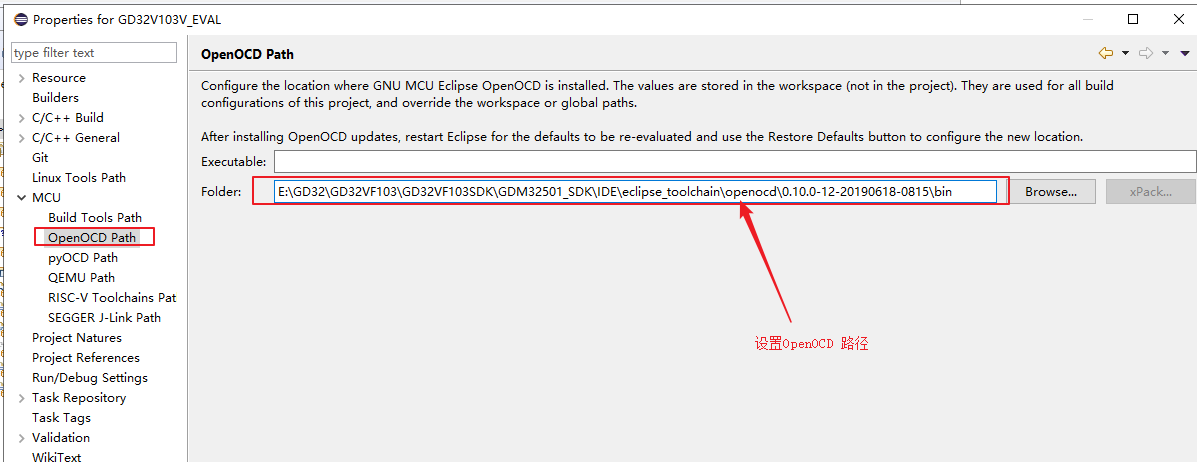 点击 MCU 列表中的 OpenOCD Path 选项,为其选择 SDK 文件包中提供的对应工具。 设置 RISC-V Toolchains Path 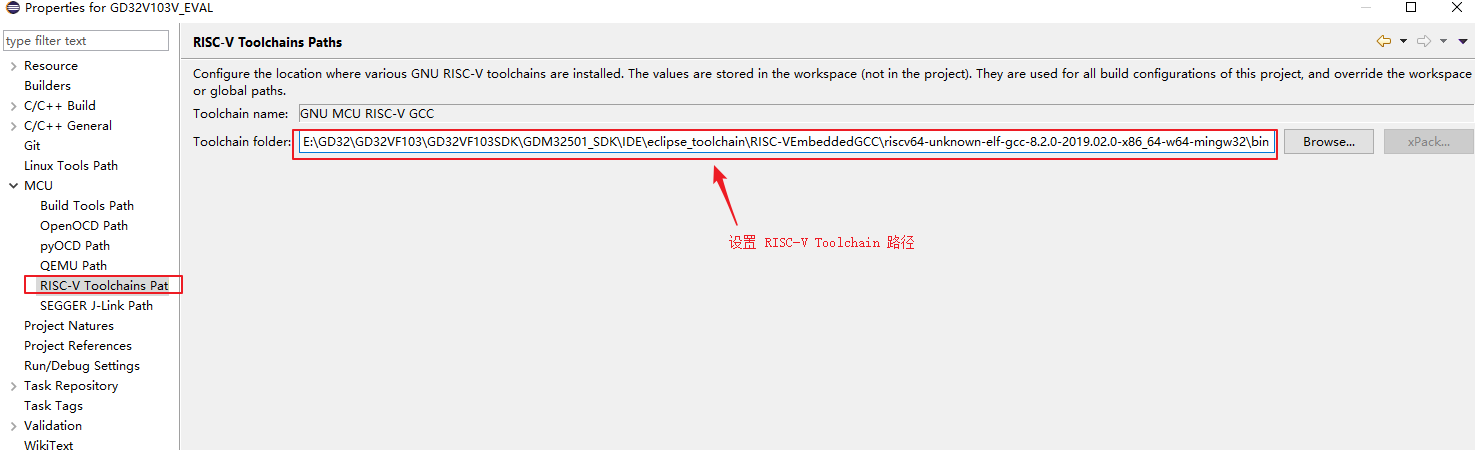 点击 MCU 列表中的 RISC-V Toolchains Paths 选项,为其选择 SDK 文件包中提供的对应工具。 按照以上步骤设置好路径点击编译即可编译工程  ## 烧写及执行 ### 替换驱动 1. 执行 JLink_Windows_V622c.exe (可以是任意版本)安装 JLink 驱动程序。 2. 执行 Zadig.exe,点击 Options->List All Devices。 3. 在下图 1 处选择 J-Link,2 处选择 WinUSB, 之后点击 3 处 Replace Driver 进行驱动替换。  安装完成之后会弹出如下窗口:  ### 配置 GDB 调试 在菜单栏中,点击 Run->Debug Configurations,进入 Debug 配置界面,如下图所示:  这里使用 OpenOCD 作为 GDB Server,使用GCC工具链中的 GDB 工具作为 GDB Client。双击 GDB OpenOCD Debugging,新建一套 OpenOCD 的配置选项。 Main 选项卡 Main 选项卡配置界面  选择当前工程 GD32VF103,并且选择当前型号的可执行文件,例如:GD32VF103xB\GD32VF103xB.elf。 Debugger 选项卡 Debugger 选项卡配置界面 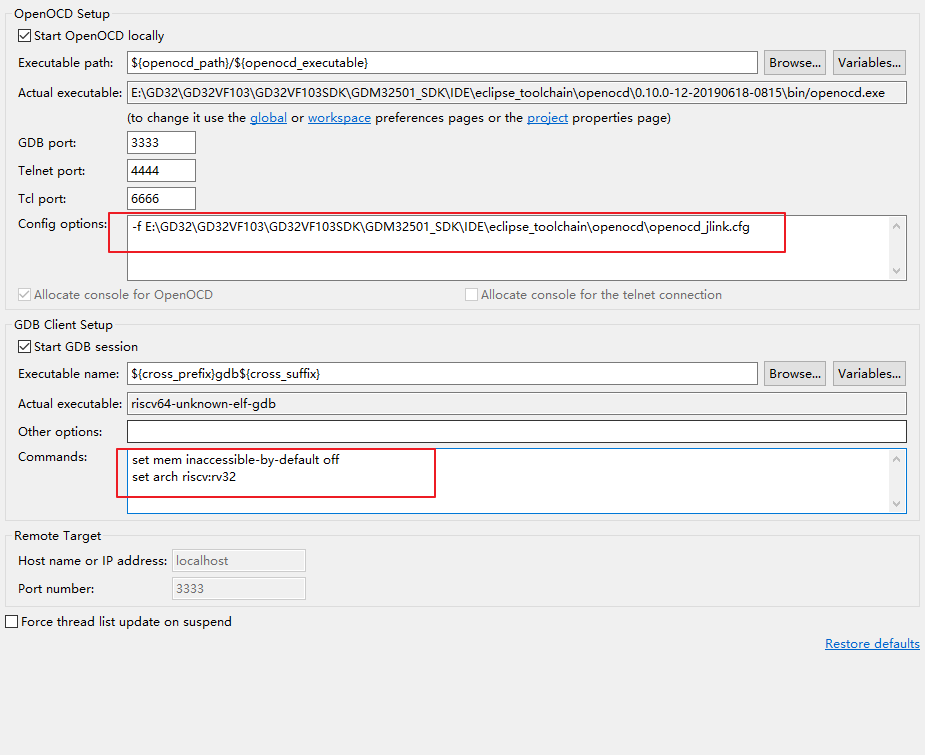 在 Debugger 选项卡中,确认红圈中的配置正确。 其中,“Config options” 是为 OpenOCD 选择配置文件,需要根据当前使用的下载器选择不同的 cfg 文件。 上述配置内容配置好后,点击应用调试。 ### 运行结果 下载程序之后,连接串口(115200-N-8-1),可以看到 RT-Thread 的输出信息: ``` \ | / - RT - Thread Operating System / | \ 4.0.2 build Jul 24 2019 2006 - 2019 Copyright by rt-thread team msh > ``` ## 驱动支持情况 | 驱动 | 支持情况 | 备注 | | ------ | ---- | :------: | | USART | 支持 | UART0_TX/RX:GPIO 9/10 | ## 5. 联系人信息 维护人: - [tyustli](https://github.com/tyustli)